With Embedded Wallets, you can create custom wallet experiences that are seamlessly integrated into your product, without compromising on security. Whether you need custodial or non-custodial wallets, our infrastructure provides the foundation for building innovative, user-friendly crypto products.Documentation Index
Fetch the complete documentation index at: https://turnkey-0e7c1f5b-traian-ref-sendfromemailaddress.mintlify.app/llms.txt
Use this file to discover all available pages before exploring further.
Why Embedded Wallets?
Embedded Wallets give you the freedom to design and control the entire user experience, while offloading the complexity and risk of private key management to Turnkey. With Embedded Wallets, you can:- Leverage pre-built UI components to speed up your integration
- Easily create a variety of wallets for your users
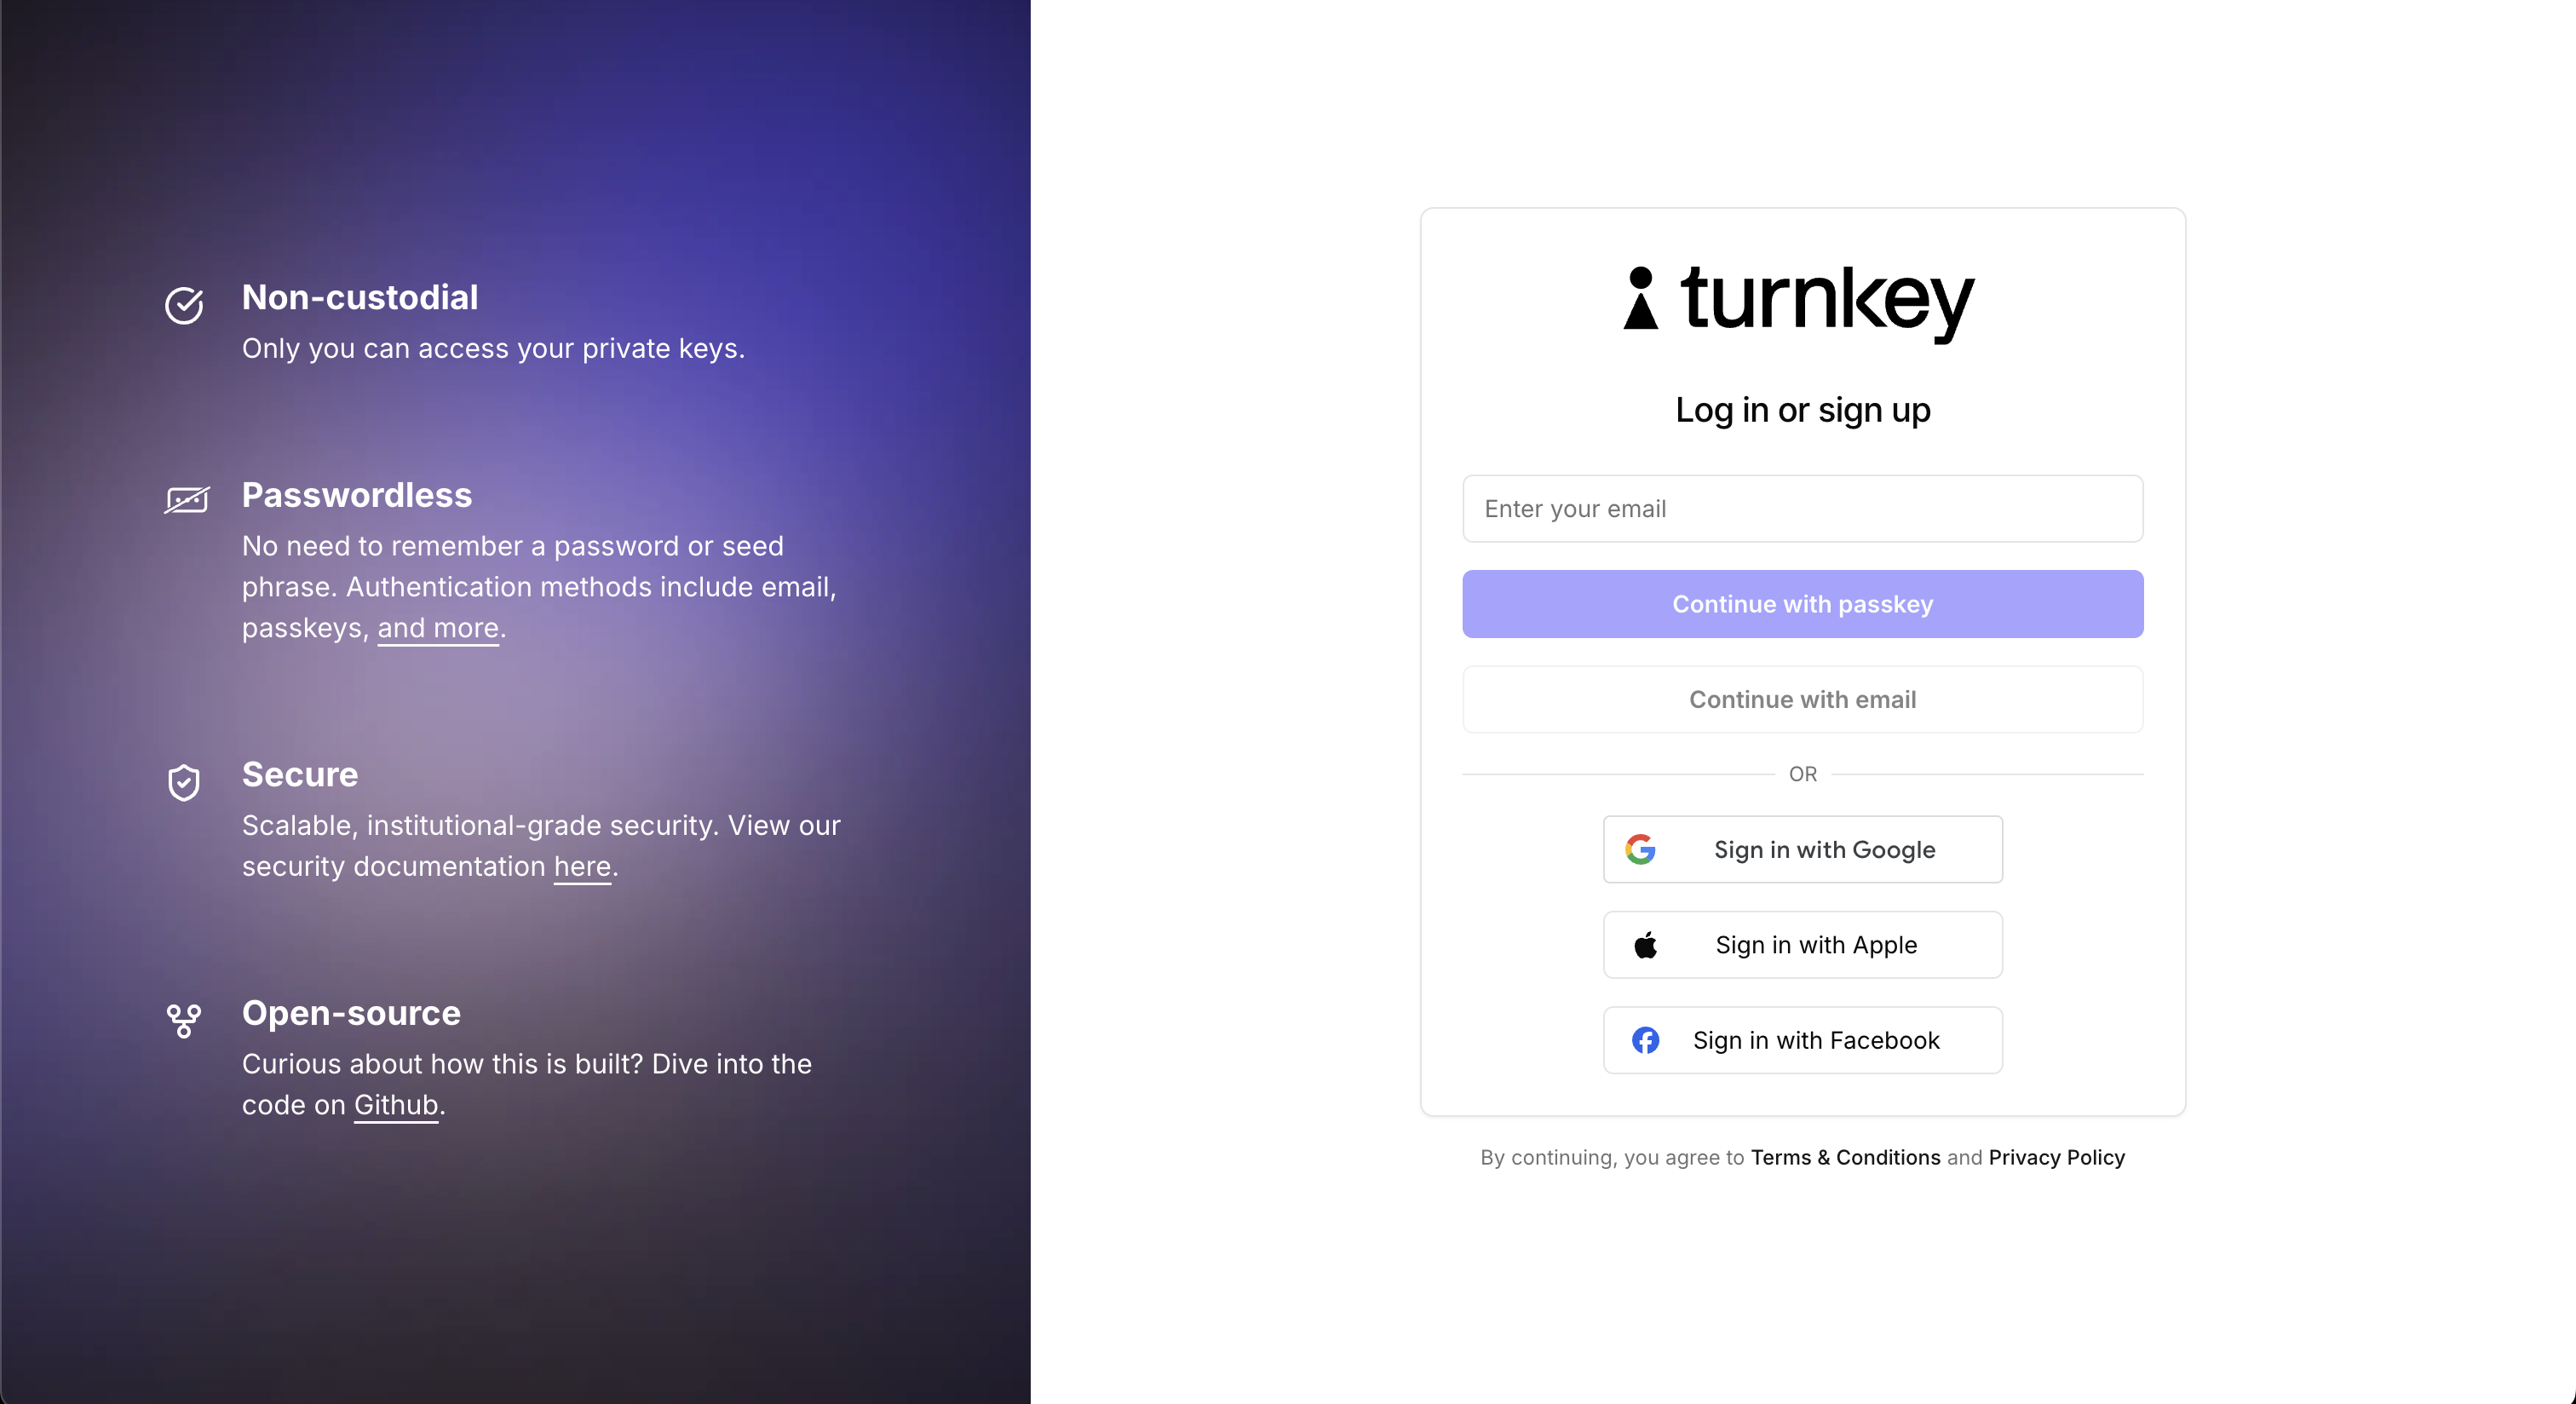
- Authenticate users via email, phone number, biometrics, social logins, etc
- Determine delegated access and co-owernership controls
- Access out-of-the-box support for multiple chains and assets
- Sign multiple transactions without additional approvals
- Access simple integrations for gas sponsorship and smart contract wallets
Custodial vs non-custodial
Turnkey’s Embedded Wallets are built on top of Sub-Organizations. Each wallet is represented by a sub-organization, which can be configured with different security settings and access controls.- For custodial wallets, your application holds the master key and can initiate transactions on behalf of users.
- For non-custodial wallets, users hold their own private keys and must approve each transaction, whether it’s via their own passkey, API key, or iframe session.
Embedded Wallets Quickstart
If you haven’t yet, get started quickly using Turnkey’s Account/Embedded Wallets Setup. You’ll learn how to:- Create an Account
- Get Your Organization ID
- Create an API Key
- Set up Turnkey’s React SDK in a Next.js application
- Configure authentication with email sign-in
- Implement message signing functionality using a user’s Turnkey wallet
- Handle user sessions and wallet interactions
Integrating Embedded Wallets
Now that you’ve gotten started, this guide walks through 3 ways to use sub-organizations as Embedded Wallets for your users. We first show that it can be used to create non-custodial wallets, or end-user controlled wallets. Then we explain how you can create custodial wallets, and lastly shared custody wallets.Non-Custodial Wallets
In this example wallet implementation, you will create a segregated sub-organization for each end-user, and leverage passkeys as cryptographic proof of ownership to ensure only the end-user has the ability to approve signing. Your application will construct transactions on behalf of the end-user, and then surface the relevant Turnkey activity request client-side for end-user approval. Note that Turnkey is not a customer authentication platform. This gives you the flexibility to create the user experience you envision. Typically, Turnkey integrators implement their own standard end-user authentication flows for login, then employ passkeys behind that login for transaction signing. If you’d like to see a live example, head over to our ✨Demo Embedded Wallet✨, and follow along with the code here. Before you start Make sure you’ve set up your primary Turnkey organization with at least one API user for programmatic user onboarding. Check out our Quickstart guide if you need help getting started.Create a sub-organization
After the end-user is logged in, your application prompts the user for passkey creation on the application domain. Our JavaScript SDK has a helper for this: The response will contain the new sub-organization ID as well as details about its associated Ethereum wallet:Note: root users created with sub-organizations can have both API keys and authenticators (e.g. passkeys). In this example we only expect passkeys. See Sub-Organizations as shared wallets for a use case which requires both.With this setup each end-user now has sole control over their sub-organization and any resources created within it. Your application cannot take any actions on resources within the sub-organization without explicit cryptographic authorization from the end-user in the form of a passkey signature.It’s important to note that the initial activity to create a sub-organization has to be authorized by an API key of a user in your main Turnkey organization. Otherwise, anyone would be able to create sub-organizations in your organization! Here’s an example where the initial registration is done, and posted to a NextJS backend. The NextJS backend inserts the attestation and signs the
getWebAuthnAttestation. See this example.Your application then uses an API-only user to create a new sub-organization on behalf of the end-user with a CREATE_SUB_ORGANIZATION activity. In the example below, the new sub-organization has one root user controlled by the end user’s passkey, and an associated Ethereum wallet:CREATE_SUB_ORGANIZATION_V4 activity here.Wallet creation
While the first wallet creation is already done (our In the snippet above we send the activity directly to Turnkey’s backend. Our SDK also comes with abstractions to create a
CREATE_SUB_ORGANIZATION activity accepts a wallet parameter!), your end-users can derive more accounts or create more wallets after the fact by using their passkeys to sign a CREATE_WALLET activity.We’ve abstracted getting WebAuthn signatures and creating signed Turnkey requests behind typed methods (e.g. createWallet).Our TurnkeyClient (from @turnkey/http) can be initialized with a WebauthnStamper (from @turnkey/webauthn-stamper):signedRequest, which contain all the components needed to forward it to Turnkey: URL, body, and a stamp header (with name and value properties). Use httpClient.stampCreateWallet to get a signed request. Your backend server can then proxy it to Turnkey.Next, we can derive additional accounts (addresses) given a single HD wallet. The shape of the request is as follows:Transaction signing
The end-user must provide a signature over each Turnkey returns a signed transaction in the activity result which your application can broadcast using any provider you’d like.
SIGN_TRANSACTION activity with their passkey. In your application, a user action (for example tapping a “Withdraw Rewards” button) might trigger the flow. The details of this transaction should be presented to the user for confirmation, followed by a passkey prompt to sign the Turnkey activity. An activity to sign a transaction looks like the following:The end-user must provide a signature over each SIGN_TRANSACTION activity with their passkey. In your application, a user action (for example tapping a “Withdraw Rewards” button) might trigger the flow. The details of this transaction should be presented to the user for confirmation, followed by a passkey prompt to sign the Turnkey activity. An activity to sign a transaction looks like the following:Custodial Wallets
Most of the steps outlined in the previous section remain unchanged: applications creating custodial wallets should still create segregated sub-organizations for their end-users to avoid limits (we currently have a maximum of 100 users per organization, whereas an organization can have unlimited sub-organizations). The main difference is in the Root Quorum settings: upon creating a new sub-organization, your business’s API key is used to bootstrap each end-user organization. TheCREATE_SUB_ORGANIZATION_V4 activity becomes:
"authenticators" list!)
Key creation and signatures can also be performed with this root API user, and the end-user doesn’t need to be involved in the activity signing process.
Policies can be use to segregate permissions if needed: you could, for example, bootstrap each sub-org with 2 API users: one to create keys and setup the organization policies; the other to sign transactions.
Shared Wallets
For the sake of completeness: it is possible to create “shared custody” wallets with the sub-organization primitive. To do this, an application would setup sub-organizations with the following settings:- Root quorum threshold: 2
-
Root users:
- 1 user representing the end-user (with their Passkey as an authenticator)
- 1 user representing the business (with an API key attached)
Demos
Demo Embedded Wallet (code)
A comprehensive demo showcasing how to build an embedded wallet using Turnkey. This demo uses the@turnkey/sdk-browser, @turnkey/sdk-react and @turnkey/sdk-server packages and includes features such as:
- User authentication with passkeys, email auth, and OAuth
- Creating new wallets and wallet accounts
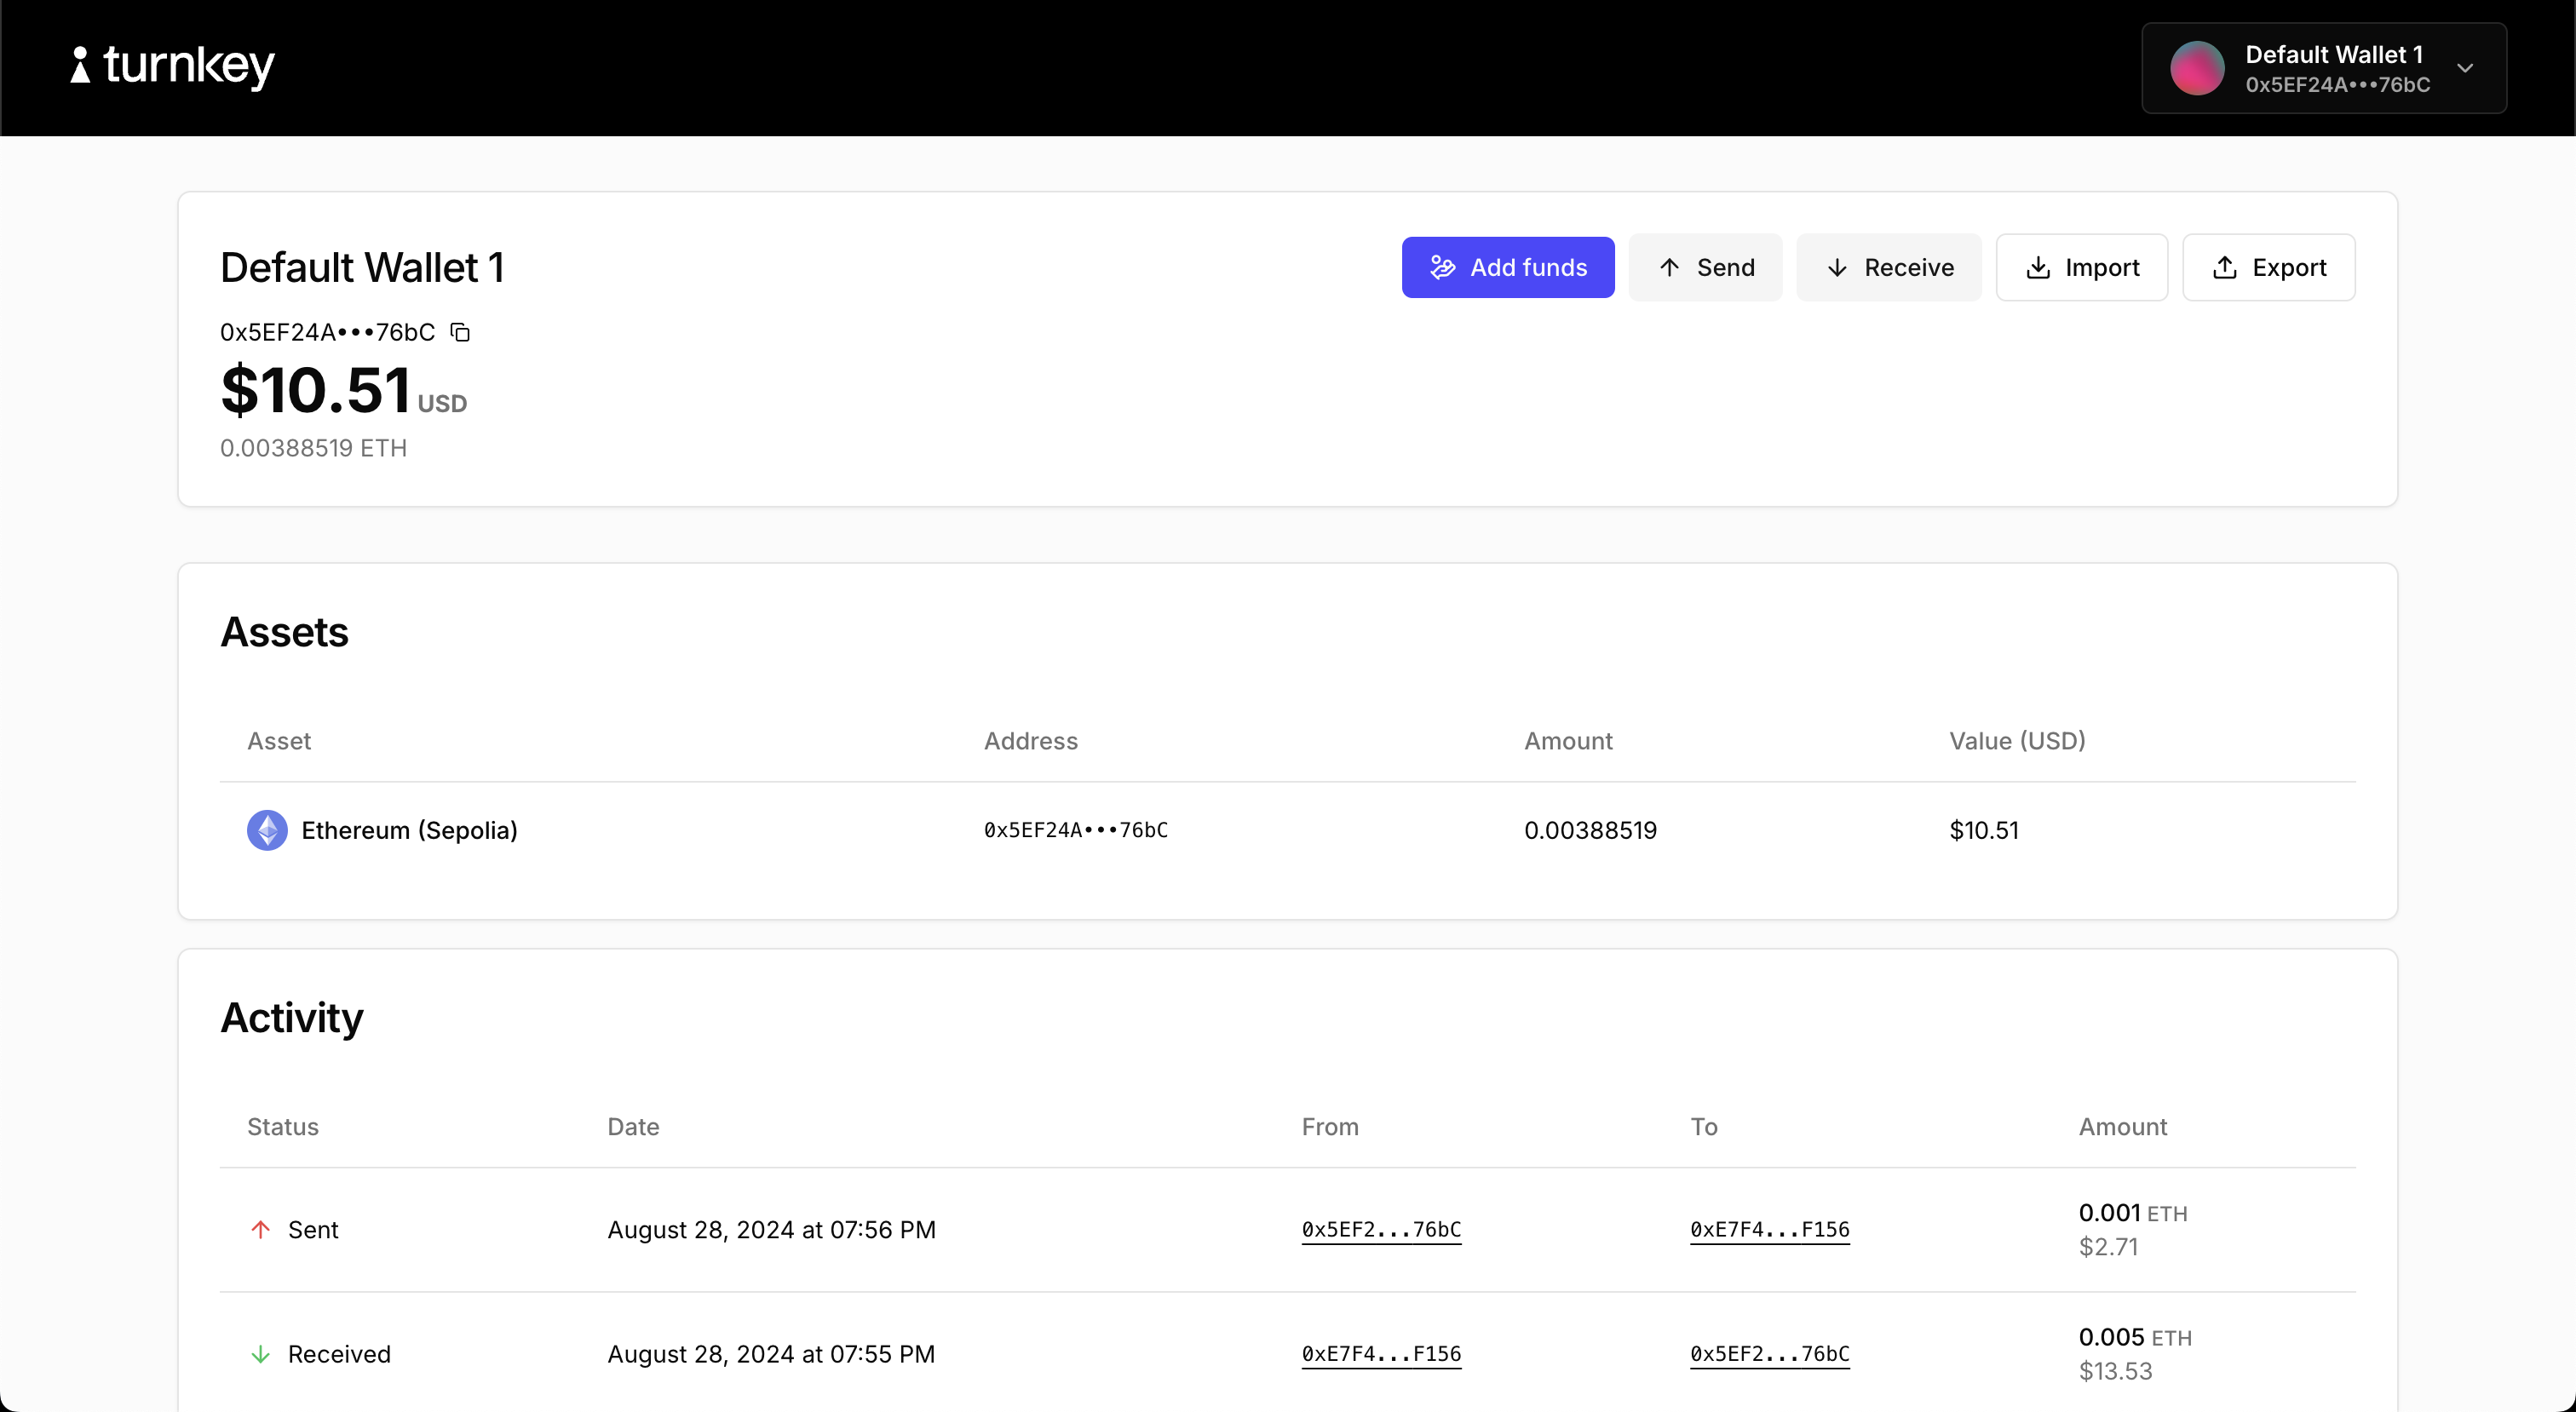
- Sending and receiving funds
- Importing/Exporting a wallet
- Adding a credential to the wallet
Demo Consumer Wallet (code)
A minimal consumer wallet app powered by Turnkey. Behind the scenes, it uses@turnkey/ethers for signing and WalletConnect (v1) for accessing dapps.
Demo Embedded Wallet (code, live link)
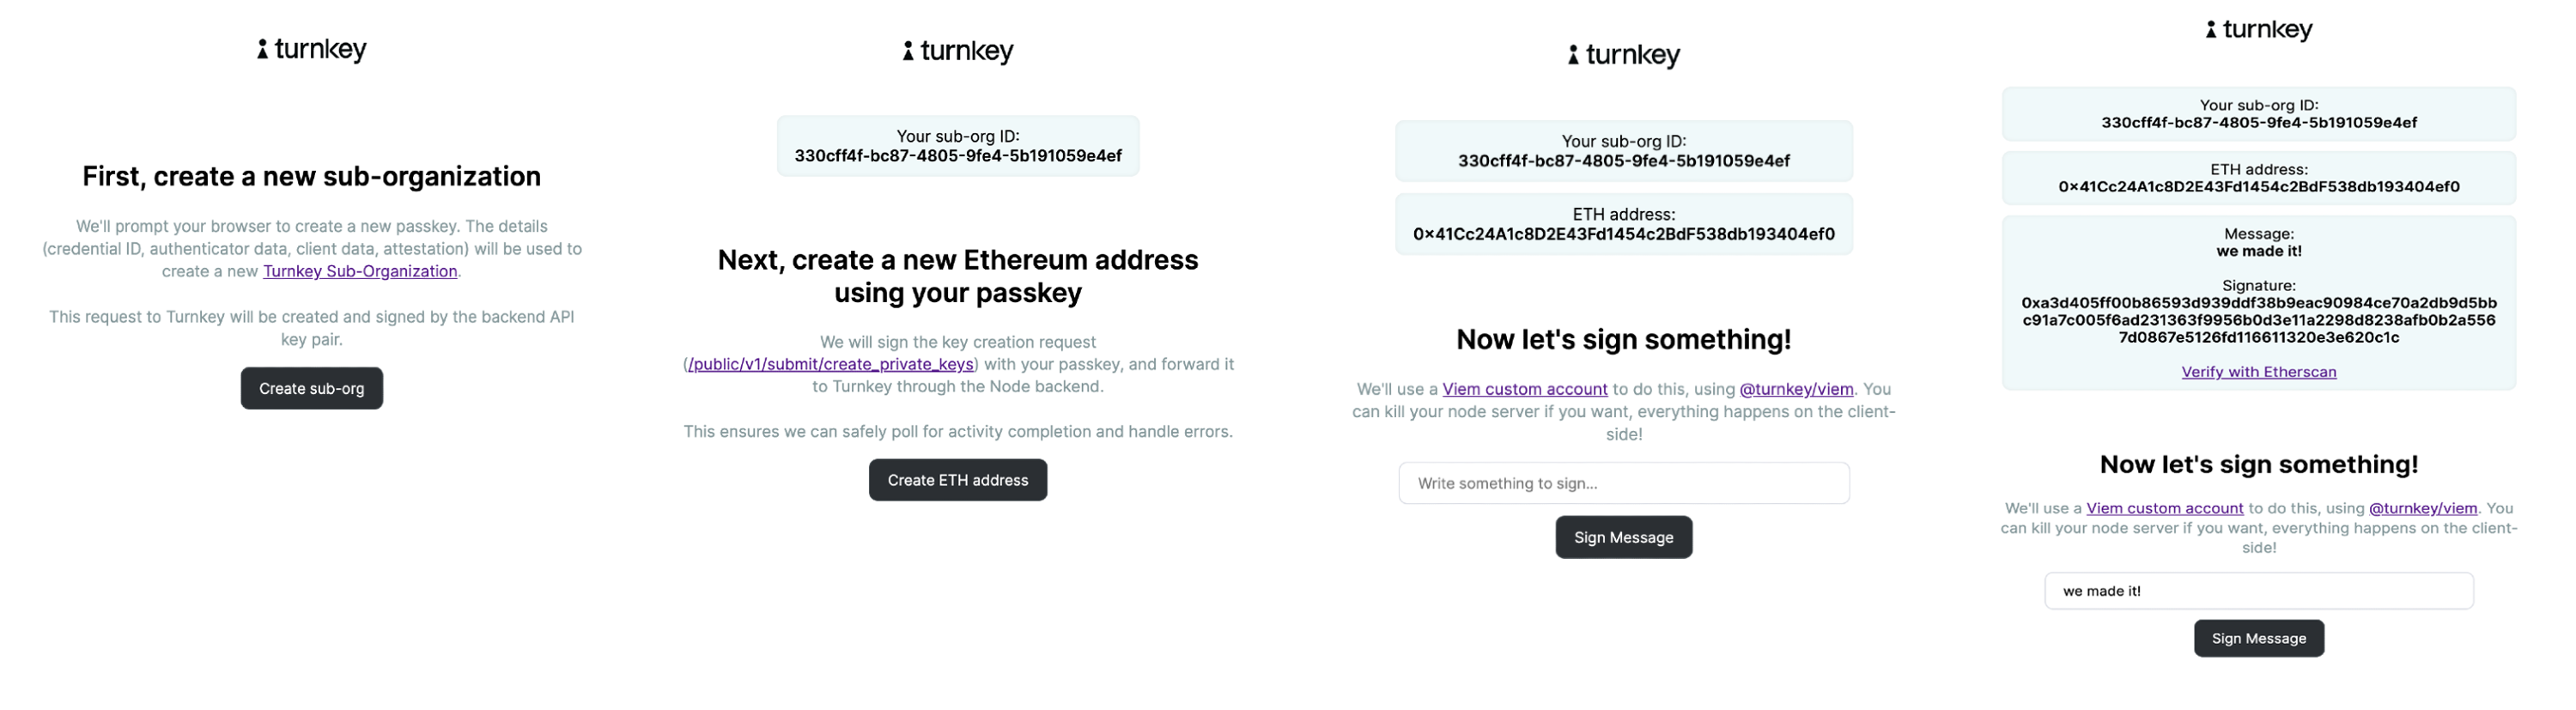
A wallet application showing how users can register and authenticate using passkeys. This demo uses the Turnkey API to create a new Turnkey Sub-Organization for each user, create a testnet Ethereum address and send a transaction on Sepolia (ETH testnet).Demo Ethers Passkeys (code)
A simple application demonstrating how to create sub-organizations, create private keys, and sign with the@turnkey/ethers signer, using passkeys.

Demo Viem Passkeys (code)
A similar, simple application demonstrating how to create sub-organizations, create private keys, and sign with the@turnkey/viem signer, using passkeys.
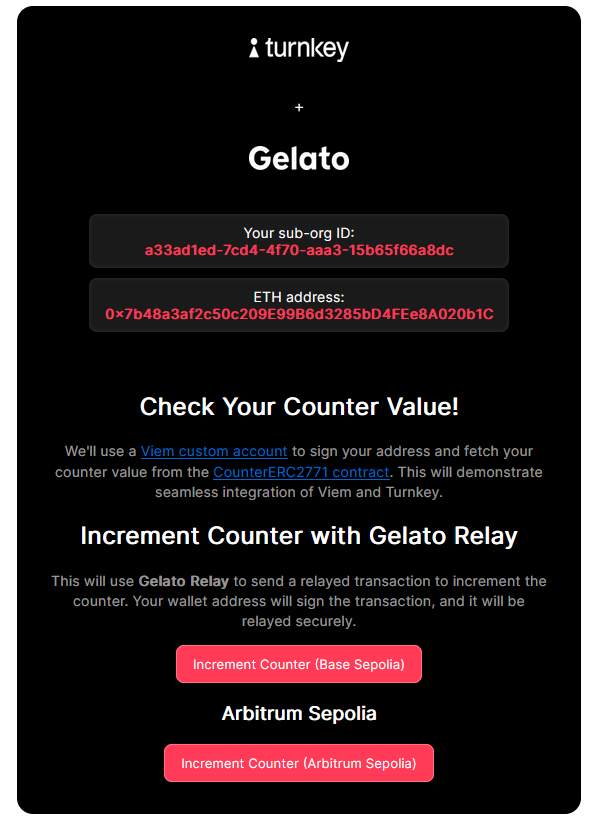
Demo Viem Passkeys with Gelato Relay (code)
This example demonstrates how to leverage Turnkey’s secure key management and Gelato’s battle-tested relay infrastructure to enable seamless, sponsored interactions with meta-transactions using the@turnkey/viem signer and @gelatonetwork/relay-sdk-viem.
How Infinex Leverages Turnkey and Gelato
Infinex, a platform designed to unify the decentralized ecosystem and applications under a single UX layer, eliminates the complexities of navigating fragmented crypto protocols. By integrating Turnkey and Gelato, Infinex delivers a seamless, secure, and cost-efficient experience for decentralized finance users.- Secure Key Management with Turnkey: Infinex ensures private keys are securely managed within Turnkey’s infrastructure, removing the need for traditional wallet pop-ups. This approach streamlines authentication through passkeys, offering a frictionless and secure user experience.
- Gasless Transactions with Gelato: Leveraging Gelato’s Relay (ERC-2771), Infinex enables fully sponsored transactions, allowing users to interact with decentralized applications without ever paying gas fees. This enhances accessibility and usability, ensuring that users can participate without holding or managing native blockchain tokens for fees.